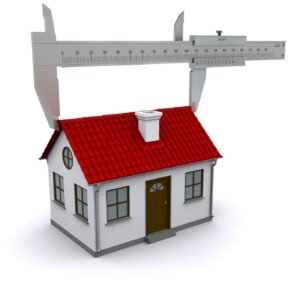
There are two suggested ways to measure a roof pitch.
The first is from the top of the roof. Simply mark a level at 12″. Keeping the level balanced measure the distance from the level to the roof surface. If a roof has many layers of shingles your measurement could be slightly inaccurate using this method
The second is to measure from the bottom of the rafters. Measuring the pitch is still the process but you you can measure the roof pitch from three different locations using this preferred method. The underside of a rafter on an overhang at the bottom of the roof, the underside of a barge rafter on the gable end, and the underside of the rafter in the attic.
Call Us +1 (940) 233-5566
If you’re having a roof installed, keep in mind that costs go up as the roof pitch becomes steeper. This is because contractors will need specialized equipment to put steep-pitched roofs into place, and this task can mean additional safety risks for the workers, so that will have to factored into the expenses.
There’s good news, though; having a steeper pitch means that water and ice flows off the roof better instead of sitting on the roof and potentially causing damage over time. A steep pitch can then actually be considered a good home improvement investment.

Method Three:
If you know the total height of the peak and the width of the roof you can also find the pitch with a little math. For example, if the peak is 4 feet and the total roof with is 20 feet, the total rise is 4 feet, or 48 inches.
The total run is the distance from the peak to the edge of the roof, which in this case is the total width divided in half, which is equal to 10 feet or 120 inches. Since pitch is the rise over a 12 inch run, divide the run by 12 to get the multiplier, in this case 120 ÷ 12 = 10.
Now, divide the rise by the multiplier to get the pitch, e.g. 48 ÷ 10 = 4.8. The pitch of this roof is 4.8:12. The calculator above can handle much of this math.
Roof Pitch Calculator Results Explained
Slope – The slope of a roof is represented as X/12, where X is the number of inches in rise for every 12 inches of run. This is very useful information for many purposes, especially for roof framing – the slope, sometimes called pitch, is calibrated on speed squares.
Angle – The angle of a roof is the same as the roof’s slope, except instead of being represented as X/12, it is represented in degrees. This is useful because sometime you may need to cut a bevel with your circular saw that is not calibrated using roof pitch style – this setting on circular saws is calibrated in degrees.
Rafter Length – The rafter length results, from this calculator, represents the length of line L on the diagram(s). Note that this is not the actual length of the rafter. It is the length of this portion of the rafter. If you plan to have overhang, etc. the rafter member will be longer.
Pitch – Is the incline of the roof represented as the ratio of rise to the span (twice the run). For example, if the roof rises 4 feet and the span is 16 feet (twice the run), then the pitch is 4/16, or 1/4.


Leave A Comment
You must be logged in to post a comment