The good news is that there are many different solutions in terms of installing metal roofing panels, including tin, aluminum and steel. As well, homeowners can choose from an array of colors, textures and styles.
The most popular material is steel, which is superior in terms of function and performance but is slightly more expensive.
If you are thinking about how to install a metal roof, you will first need to gather together all the necessary supplies, remove your old roof, and then install a layer of insulation and the new roof.
Of course, the big advantage of choosing a DIY metal roofing material over composition or wood is what you get in return – vastly superior life expectancy and durability. On most applications, a metal roof will last the life of the building – DIY it once and you’re done! It’s certainly something to keep in mind when planning your project. I’ve spoken with people who rejected all of the benefits of a metal roof as a DIY project because they determined it would take a few more days to install (compared to a composition shingle). While this is undoubtedly true for most jobs, does a few extra days of work now not make up for decades of improved service down the road? Taking the long view puts things into perspective quickly and for people looking for long-term performance and value for their roofing dollar, metal has to be the first choice every time.
DIY Metal Roofing Resources
- See available metal roofing materials, styles, and colors.
- See examples of DIY metal roofing installations done by our customers.
- Get instant online pricing that includes shipping (within the lower 48 states).
- You as a purchaser have toll free access to our superlative Customer Service Personnel who can help you out with any question you may have.

Installation Related Resources
- We have compiled a page of the best tools that we recommend to make the job go smooth and easy!
- Determining your roof’s pitch.
- Measuring a roof for materials pricing and installation.
- Metal roof terms glossary.
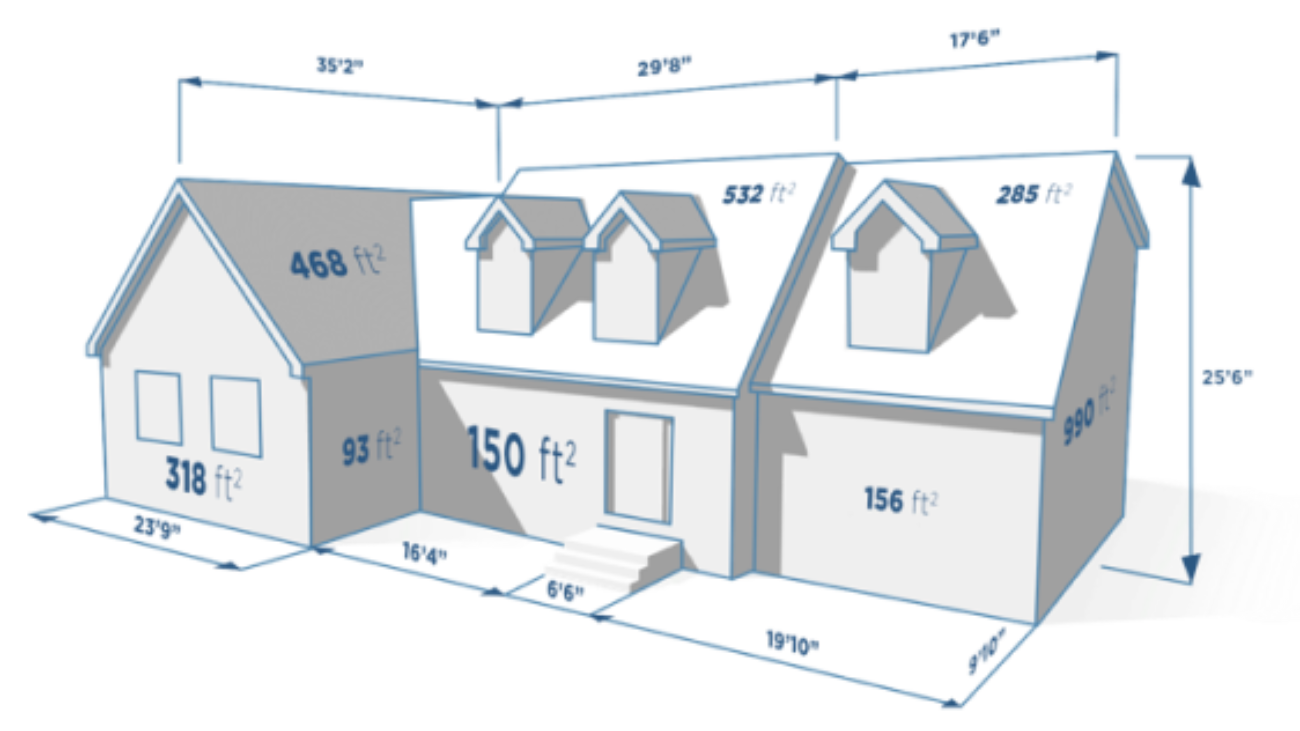
Measure the Roof
- Use measuring tools to find the length and width of the roof from the ground outside.
- Figure out the slope of the roof by setting a carpenter’s level on the underside of one rafter in the attic. Measure the vertical distance (rise) from the 12-inch mark on the level (run) to the underside of the same rafter.
- Slope is calculated as rise over run. For example, if the vertical height was 6 inches, your slope would be 6:12, or 6/12 or 0.5, expressed as a decimal.
- Multiply the area by the slope. The result is the total square footage in your roofing project.
- Order roofing supplies by the square footage and add 10 percent more for waste.
- Be sure to order your roofing screws at the same time as your metal roofing panels so that you’ll match the colors.

Materials and Tools you will need
* Sheet metal hand seamer aka folder or crimping tool.
* Drill/Driver
* Wood cutting: For minor wood repairs, a cordless reciprocating saw.
* Hammer, rubber mullet, tool belt, metal snips/shears, tape measure.
* Safety rope, anchor and harness, and knowledge/experience using it, work safety plan, and first aid kit.
* Safe to use and adequate Ladder.
* Tear off/roof stripping tools, heavy duty contractor bags, and a dumpster to dispose of old shingles.
* Pre-measured and pre-cut Standing Seam Metal panels at work site.
* System specific screws and flashing details for your roof.
* Roofing Underlayment, Ice and Water, nails with colored caps.
If you’d like to learn more about the feasibility of completing a DIY metal roof project, call or contact us today. We’ll be happy to answer all of your questions, and we can recommend the best material and profile for your project.


